Slip Casting: Dan’s Quick Glimpse How-To
Share
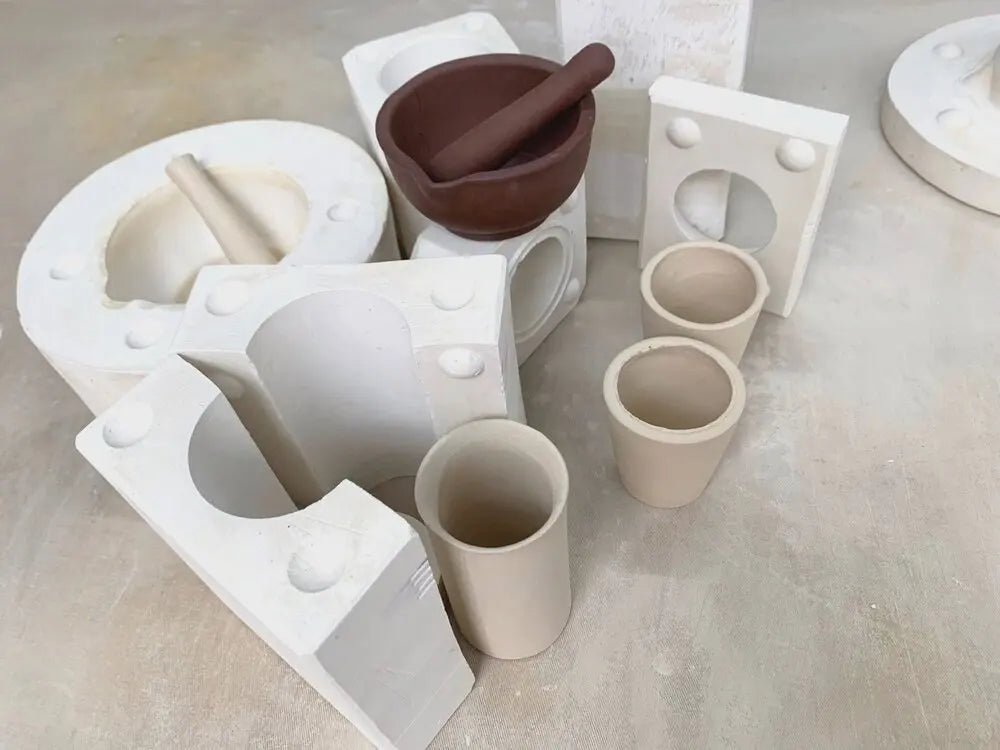
Slip casting is the process of creating pottery using liquid clay via molds I have here at the Donkey Mud Studio. Keep in mind that these are general guidelines and that every mold is different.
SLIP CASTING STEPS:
- Make sure mold is clean of all clay
- NEVER use metal tools to scrape or clean molds (use wooden ones)
- Make sure your casting slip (the liquid clay) is thoroughly mixed
- Assemble all parts of mold tightly with rubber bands
- Pour your slip through the small sieve into the mold until it bulges from the opening
- Seal your clay bag/bucket so it doesn’t dry out!
- Wait 15-45 minutes depending on how thick you want your clay walls to be.
- 15 minutes will usually be thin, about 3/16”
- 45 minutes will usually be thick, about 1/3”
- If the mold is wet/saturated from previous use, it will take longer
- Check your mold every 5-10 minutes and top it off with clay (if it starts to sink below the top of the mold)
- Dump the slip back into your slip bag/bucket (DO NOT TURN IT RIGHT SIDE UP) and rest it atop the metal bars (one side only) to drain for at least five minutes
- Remove it and set it on top of the work surface using the metal bars (so air can get through). Seal your clay bag/bucket so it doesn’t dry out!
- Wait 1-2 hours and carefully remove the mold
- Your piece will still be very soft. Set it out and let it dry for a little while before working on it.
-
Thoroughly clean everything you used and your work area!
- Remember to scrape out the mold with a wooden tool, don’t try to rinse it
- Use a sponge, kittling knife, needle tool, etc to clean up the rim, remove mold lines, etc
